3D Maya 03: Mental Ray Environment and Print File
{youku}XMjU5Mjk2OTU2{/youku}
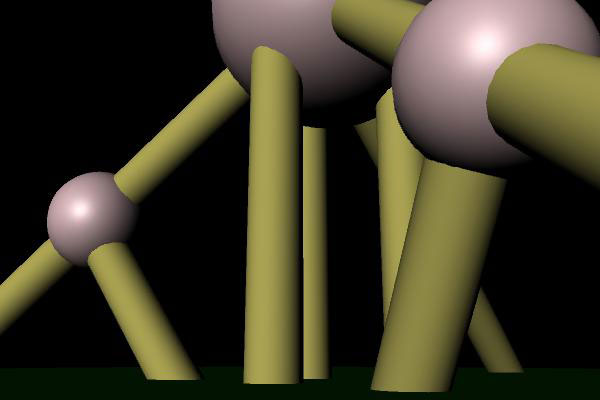
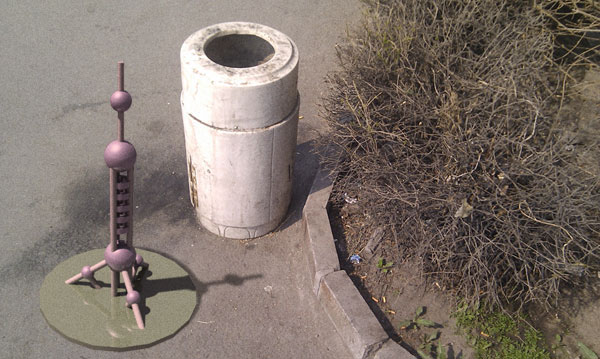
Rendering using Maya Software (default)
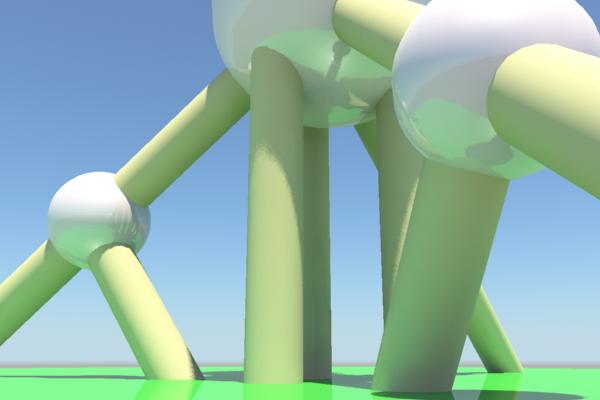
Rendering Using Mental Ray Environment (Physical Sun and Sky)
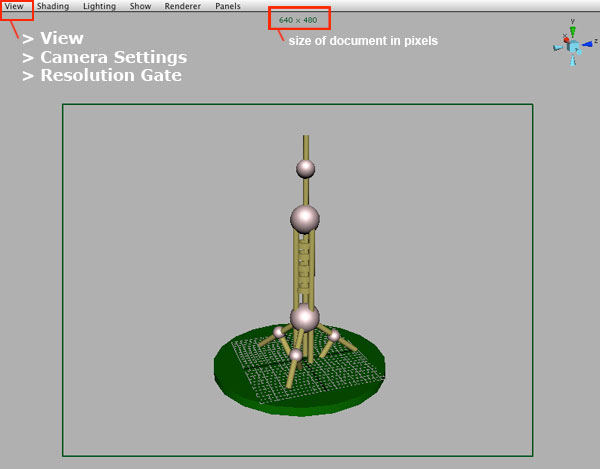
View > Common Settings > Resolution Gate (this is in the camera view). This will also show how big your image is (in pixels).
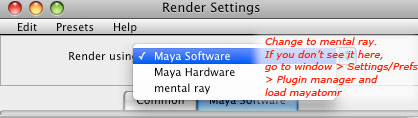
Render Settings
Windows > Settings and Preferences > Plug-in Manager...
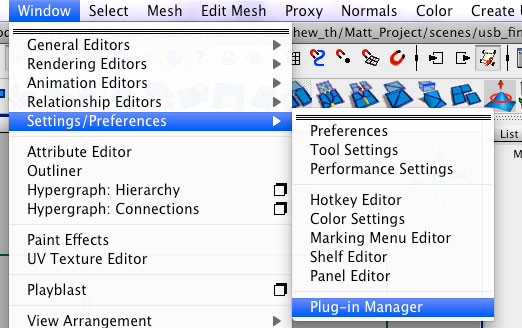
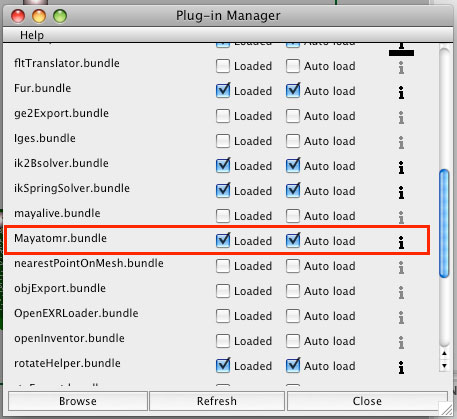
Look for mayatomr.bundle and make sure its loaded
There are three Render buttons. Render, IPR Render (we won't use), and Render settings. Press the Render Settings button...

The default render setting is using maya software. Please note where your images will be saved, and make sure it is inside your project folder. The default image format is .iff and this will need to be changed. The persp (perspective) camera will be used to render for now. If you only want the model, and not the background, click alpha channel, otherwise turn it off.
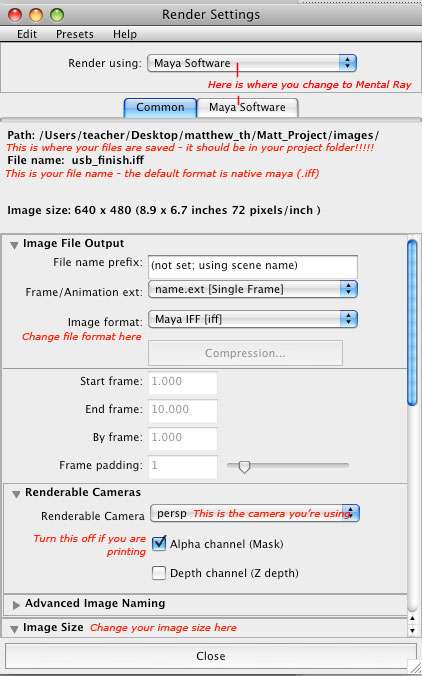
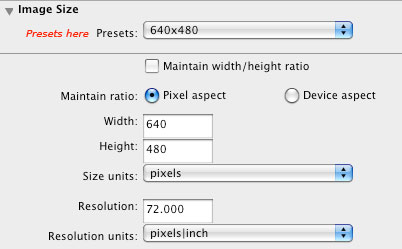
Make sure you change the image size to the correct size (A4 for the assignment). The default size is 640x480
Go to the top of the window. Where it says 'Render using;' change this to mental ray. If you do not see mental ray here, you need to go to windows > settings/preferences > plugin manager and click 'loaded' next to mayatomr.bundle
Change the quality preset to 'PreviewFinalGather'
![]()
Go down to the bottom and click on 'Environment'. Next to 'Physical Sun and Sky' press 'create'. You will only have these options if you are using mental ray.

{youku}id_XMjYwOTIzNDEy.html{/youku}
Assignmet due next week: A4 printout of your ugly shanghai building