3D Maya Animation: Rigging a Model Part 1
Setting up the leg
Reverse foot lock
Mirror Joints
Spine and Parenting legs
(Youku videos below)
My Maya model file can be downloaded here
Select the model Modify > Freeze Transformations
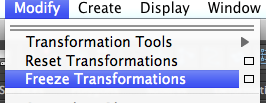
This will convert your body values back to 0 and 1. This will be very handy when you start animating.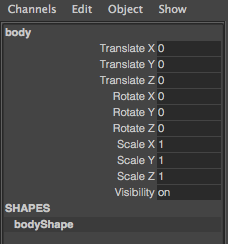
(This step is not important, but it helps me with orientation)
Create some text saying "left" and "right" on your model. 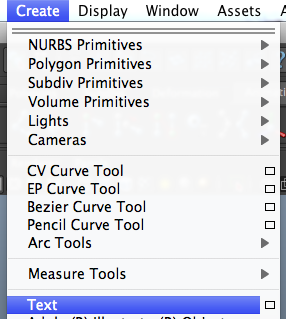
select your text and body and create a new layer from them.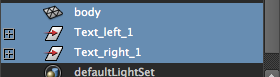
The button in the top right hand corner in the image below will create a new layer with the selected objects. I called my layer "body_model"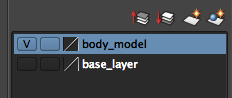
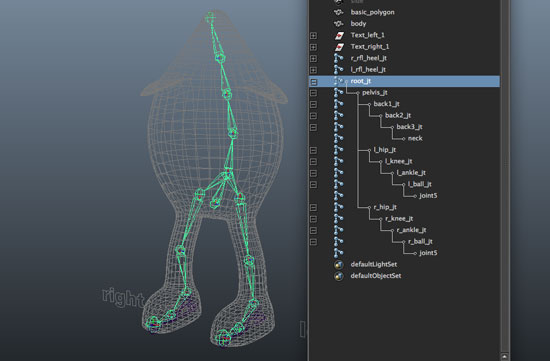
Joints
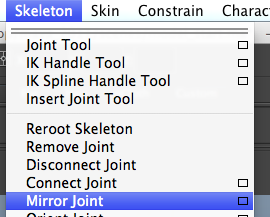
Now for the joint tool. Its in the animation shelf, or skeleton > Joint Tool![]()
The joint tool is the middle tool in this image
Work in the side view. Select the joint tool and start from the hip. Make a second joint at the knee, then ankle, ball and toe. Put a slight bend in at the knee.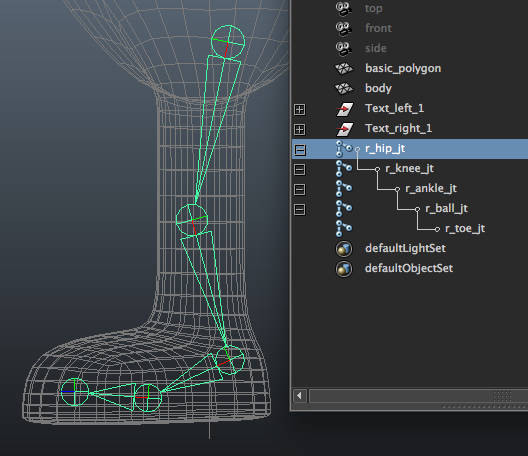
rename these joints. r_jointname_JT (r for right, jt for joint). This is important when you mirror your joints later, and when your rig becomes more complicated.
Reverse foot lock
Start at the heel, then go toe > ball > ankle. Name the joints r_rfl_jointname_JT (rfl for reverse foot lock)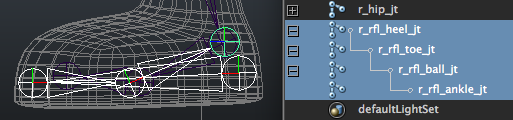
Mirror Joints
Move the rig over to the right side leg.
Skeleton > Mirror Joints > Options
Mirror joints along Y axis.
Search for "r_" and replace with "l_"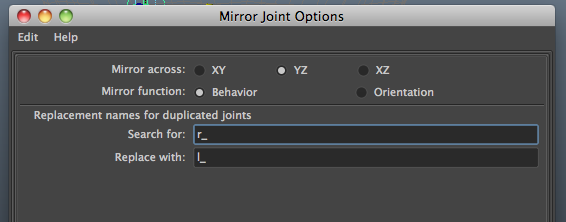
Do this with the reverse foot lock as well. When moving the RFL, press and hold "V" while moving to snap into place.
Spine
Start at the bottom and follow the back up to the neck. On my model I had six joints, but it depends on the model.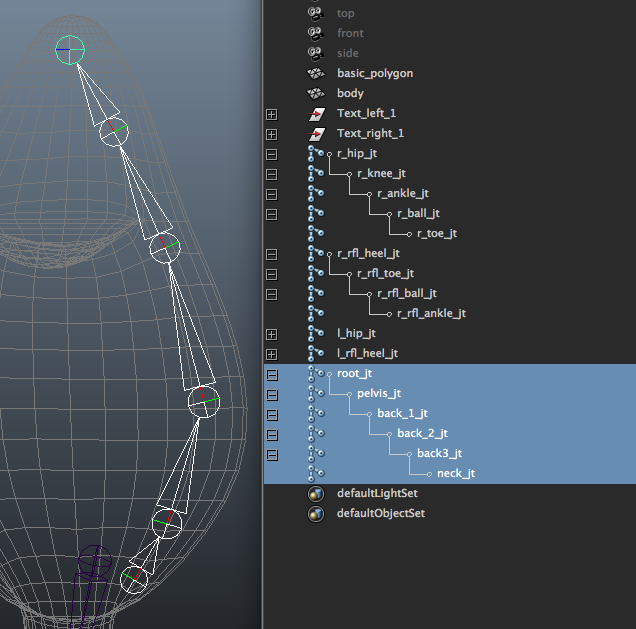
Name the bottom (first) joint "root", then pelvis, back1, back2, back2 and neck.
Parent legs to spine
Select the hip first, then select the pelvis (not the root). 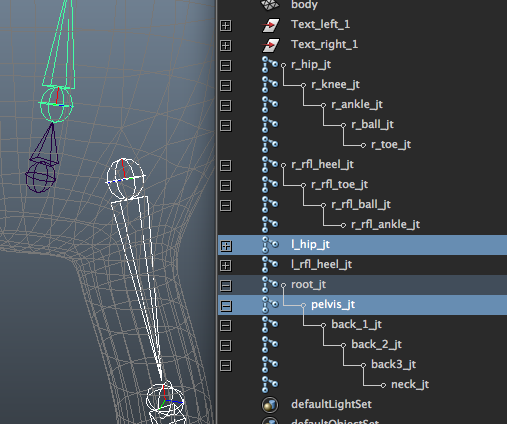
The spine should be an aqua colour, and the leg white.
Edit > Parent. Do this for both legs.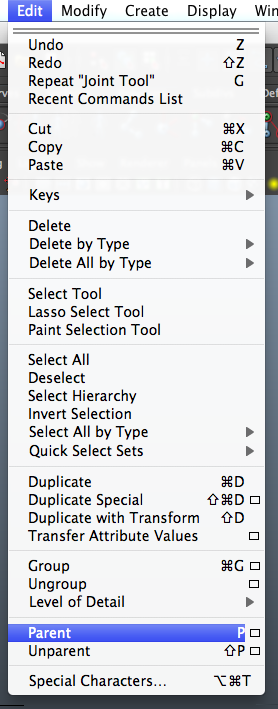
Your legs will now be joined to the pelvis joint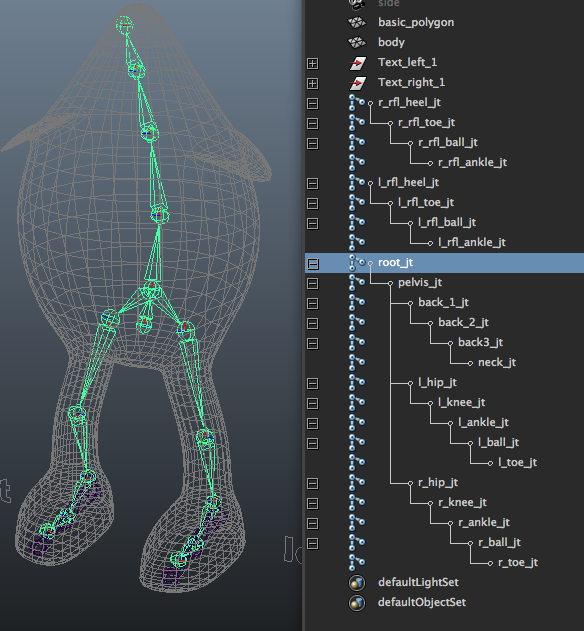
Finally, select the rig (from the root joint) and create a new layer with it. I called mine "rig"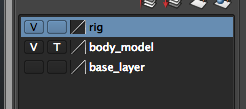
That's the first step! next is to orient joints and set up IK handles.
{youku}XMzE2ODIzNDIw.{/youku}
{youku}XMzE2ODI0ODYw.{/youku}
{youku}XMzE2ODI3ODYw.{/youku}
{youku}XMzE2ODMwMjMy.{/youku}